How to record a useful home demo without expensive gear
Record a clear home demo with the equipment you already have. Choose the demo's purpose, control the room, capture a reference, and organise the next version.
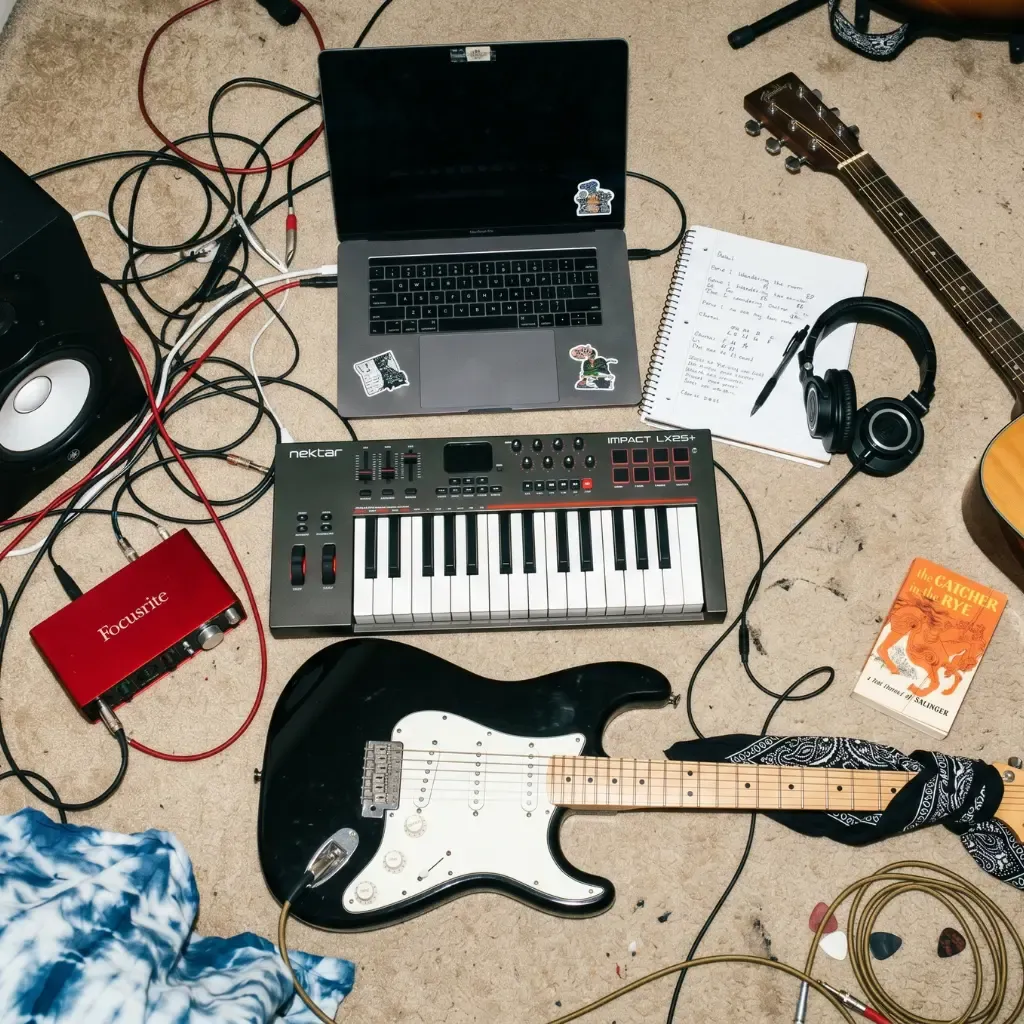
A useful home demo does not begin with a shopping list. It begins with a decision: what must this recording allow you or another person to understand?
For remembering a song, a phone may be enough. For testing an arrangement, you may need a simple multitrack session. For briefing a producer, the demo needs a complete and intelligible journey, not necessarily release-ready sound.
If the term itself is unclear, read what a music demo is and the types it can take.
1. Define the demo before setting up
Write one sentence:
- “Preserve the verse melody and chords.”
- “Test whether the bridge belongs.”
- “Give the band a rehearsal reference.”
- “Show a producer the intended structure and energy.”
That sentence decides which parts, equipment, and editing are necessary. Without it, a simple recording can expand into unfinished production.
2. Use the smallest setup that answers the question
Capture demo
Use a phone or portable recorder. Place it where voice and instrument are balanced enough to understand. Record a complete pass and a second take only when the first hides the idea.
Development demo
Use any reliable recording app or DAW you already understand. A basic audio interface and one suitable microphone can help when you need separate tracks, but they are not a prerequisite for writing decisions.
Presentation demo
Prioritise clear lead vocal, stable timing, understandable structure, and an arrangement that communicates intent. Borrow or rent equipment before buying it for a single project.
3. Improve the room before the gear
Hard, empty rooms create reflections that reduce clarity. You do not need to build a control room for a demo. Try:
- moving away from bare corners and windows;
- closing doors and silencing fans or appliances;
- using a room with curtains, furniture, clothes, or other soft surfaces;
- placing the microphone or phone closer to the source rather than increasing gain from far away;
- testing thirty seconds and listening back before recording the song.
Do not cover equipment in ways that block ventilation, and avoid improvised electrical setups.
4. Set levels conservatively
Digital clipping cannot be repaired by lowering the fader later. Record the loudest section during the test and leave headroom. If you use a phone, keep a consistent distance and avoid holding it in a way that covers the microphone.
For voice and acoustic instrument recorded together, move the recorder rather than chasing a perfect balance with processing. Small changes in height and angle often matter more than another plug-in.
5. Record a complete reference first
Before building layers, record the song from beginning to end. This exposes structural problems and gives every later part a map.
The reference can be voice plus instrument, piano, guitar, or a simple guide track. Keep the performance moving when a small mistake does not hide the song. A demo should reveal decisions, not prove that no mistakes occurred.
6. Add only decision-relevant layers
Ask what each new track contributes:
- Does the bass reveal the harmony or groove?
- Does a harmony vocal prove the chorus lift?
- Does the beat establish a section transition?
- Does a texture explain the intended production direction?
If the answer is “it makes the session feel fuller,” leave it out for now.
7. Use editing to clarify, not disguise
Trim noise before and after takes, choose the clearest performance, balance the important parts, and add minimal processing when it helps comprehension. Avoid spending hours repairing a take that should simply be recorded again.
Export at a common, lossless or high-quality format appropriate to the recipient. Keep the original session and uncompressed recordings when future work may depend on them.
8. Name and store the result
A filename should identify song and change, for example:
Northern Lights - shorter bridge - 2026-08-29.wav
In the song project, add:
- the demo’s purpose;
- what changed;
- two or three review questions;
- the next action;
- whether this file is now the current reference.
That context is part of the demo. Without it, collaborators hear sound but may answer the wrong question.
A no-purchase starting setup
You can begin with:
- the phone or computer you already own;
- your instrument;
- wired headphones when monitoring is needed;
- a quiet, furnished space;
- a recording app you can operate without interrupting the performance;
- a project system for the recording, lyric, and next decision.
Upgrade only when you can name the limitation: too much room noise, insufficient inputs, unacceptable latency, or a presentation requirement your current setup cannot meet.
Where Zoundroom fits
Record in the tool appropriate to the job, then keep the exported reference with the song’s notes, lyrics, files, and collaboration context in Zoundroom. This avoids presenting Zoundroom as a DAW while using it for the workflow problem it does solve: carrying the demo and its next decision together.
When speed matters more than separate tracks, use the phone demo workflow.
A good home demo is not the one with the most equipment. It is the one that makes the next musical decision easy to hear.